Image Editor
Crop, resize and adjust images without leaving the platform.
What it's for
Marketing images rarely arrive the right size. A photo needs cropping for a banner, a logo needs resizing for an email header, a picture needs brightening before it goes out.
Small jobs like these do not warrant design software, and the editor handles them in place, so you are not exporting files back and forth.
Before you start
- Your plan. The Image Editor is included in the Lite, Pro and Full plans.
How to edit an image
- In the sidebar, choose Tool Box → Image Editor.
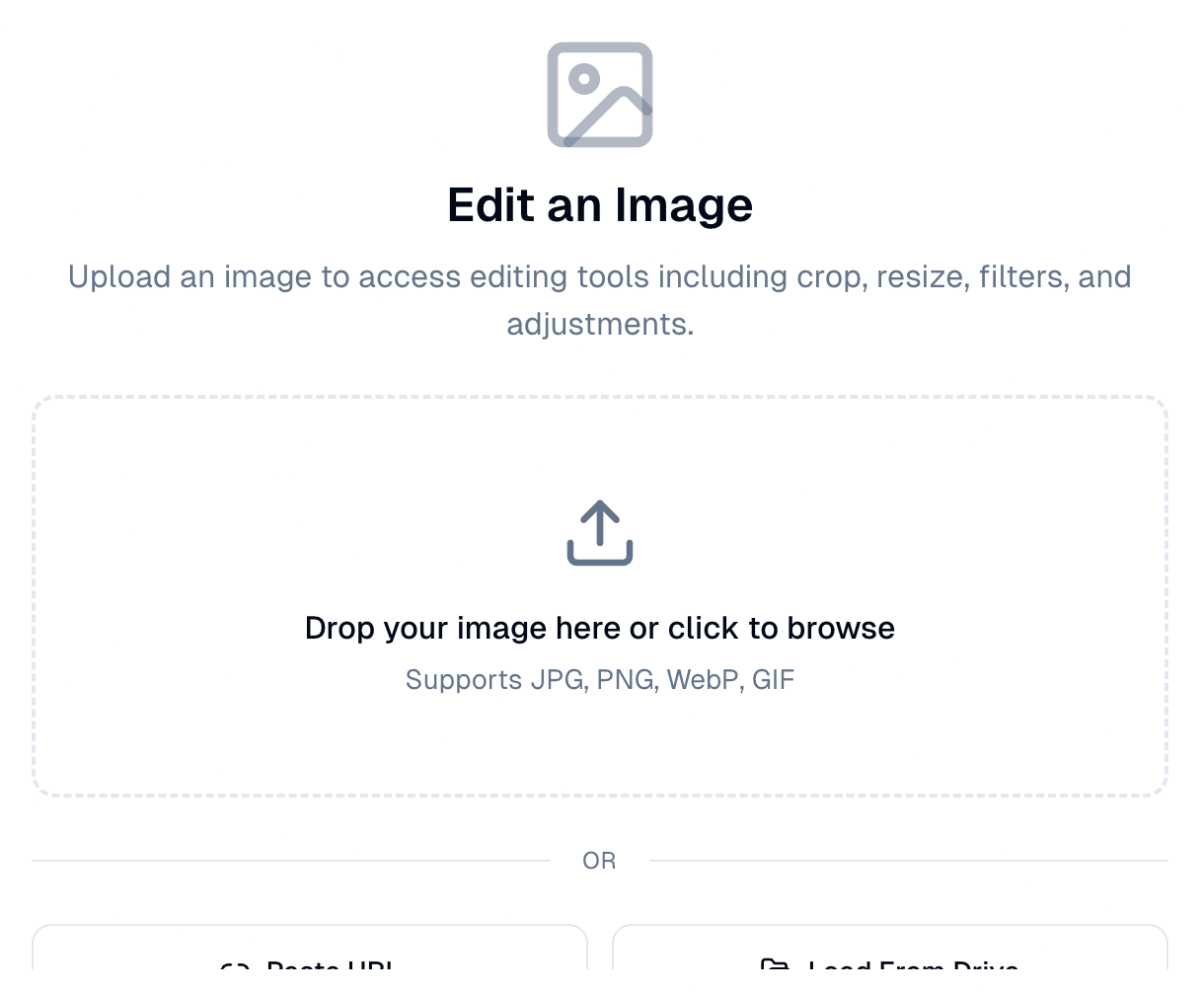
- Load your image one of three ways:
- Drop it on the upload area, or choose it to browse.
- Paste URL to pull an image from the web.
- Load From Drive to use a file you already hold in your Content Repository.
- Use the editing tools: crop, resize, filters and adjustments.
- Choose Save to keep the result in your Content Repository, or Download it.
The editing tabs
Once an image is loaded, the panel on the right has five tabs:
| Tab | What you can do |
|---|---|
| Style | Filters, and adjustments such as brightness, contrast and saturation. |
| Transform | Crop, rotate and zoom. |
| Resize | Resize to a preset for each social network, or to your own size. |
| Logo | Place your brand kit's logo on the image. See below. |
| AI | Describe the change in words, for example remove the background or add a sunset sky, and the AI edits the image. With no image loaded, it generates one from your description. |
Adding your logo
Works on any image you load, not only AI-generated ones.
- Open the Logo tab and choose the brand kit.
- Turn on Add logo. The logo appears on the image.
- Leave the logo on Auto, or pick one yourself. Auto starts with your usual logo and switches to another one from the kit if that one would be hard to read on the background.
- Choose a Position and Size, or drag the logo anywhere on the image. You can also move it with the arrow keys.
- Choose Apply Logo.
Apply the logo before you save
Save and download are off while you place the logo, so choose Apply Logo or Cancel first. Once applied, Undo removes it.
Add the logo last
Filters and rotations are applied when you download, so they would change the logo too. Finish those first.
If an amber message says the logo may be hard to read, try another position or logo. Adding a lighter or darker version to your brand kit gives Auto more to choose from.
If you open an image from Image Generation that already has your logo, the tab warns you, so you don't end up with two logos.
Supported formats
JPG, PNG, WebP and GIF.
Load from Drive to keep things tidy
If the image is already in your Content Repository, use Load From Drive rather than downloading and re-uploading it. Fewer copies means less confusion later about which version is current.
Good to know
- Crop for the destination. An email header, an Instagram post and a website banner all want different shapes. Crop a copy for each rather than compromising with one.
- Resize down, not up. Making a small image larger makes it blurry; the detail is not there to recover.
- Keep the original. Save edits as a new file so you can go back if a later campaign needs a different crop.
Still stuck? Contact support.