The event page
The page your guests land on when they follow your invitation: what the event is, when and where, and the form to register.
What it's for
Every event gets a page without any work from you. Use it as it is, or make a copy and lay it out your own way: your photos, your sections, your wording.
In short
| You want | Do this |
|---|---|
| A page that is always right | Keep the Default event page. It is built from the Definition tab. |
| Your own layout | Choose Duplicate to customize, then edit the copy. |
| To change a custom page later | Choose Edit page on the preview. |
| To go back to the default | Pick Default event page in the list. Your custom page is kept. |
Before you start
- An event with its Definition tab filled in: description, date, address and, ideally, a cover image. See Event Management.
The default page
In the sidebar, choose Marketing → Event Management, open your event, and choose the Landing page tab. With Default event page selected, the preview shows the page exactly as guests see it.
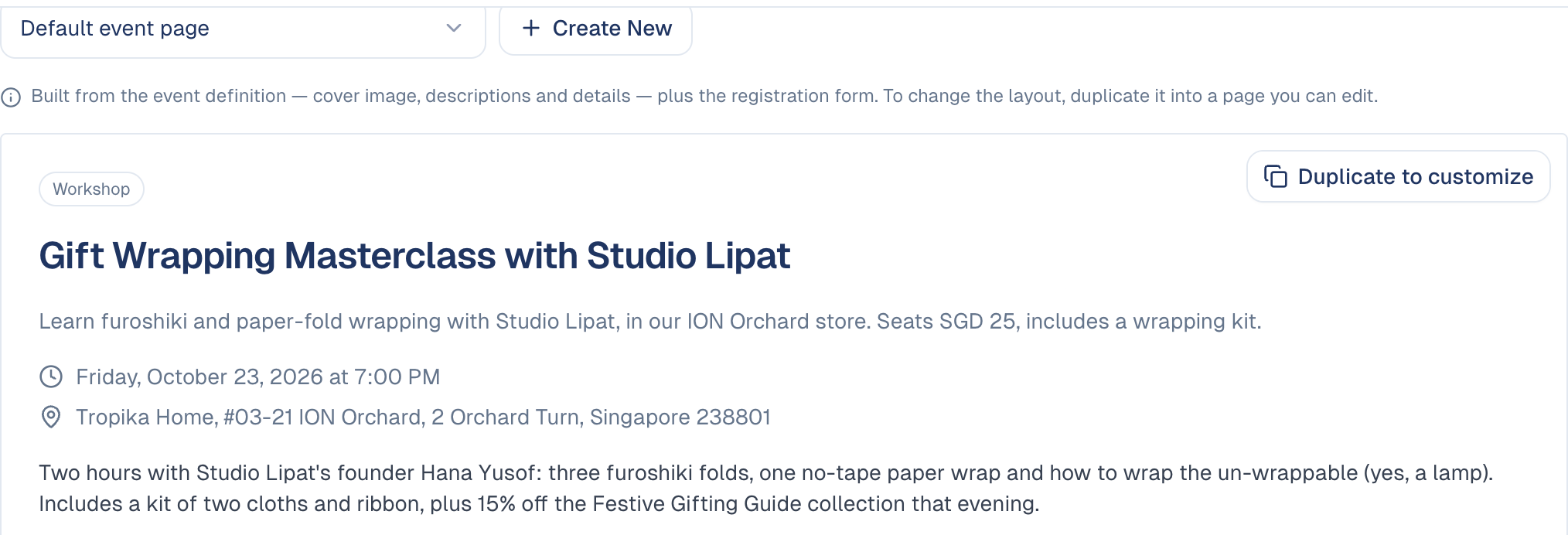
The default page is put together from the Definition tab, top to bottom:
| On the page | Comes from |
|---|---|
| The cover image | Cover Image |
| The label above the title (Workshop) | Event Type |
| The title | The event's name |
| The line under the title | Short Description |
| The date and time | Event Date, Start Time and Timezone |
| The place | Address, or Online event |
| The long text | Full Description |
| The form at the bottom | The form chosen under Registration › Registration form |
The default page updates itself
Change the date, the address or the description on the Definition tab and the page shows it at once. There is nothing to republish.
How to customise the page
- On the Landing page tab, choose Duplicate to customize (or Create New, next to the list: it does the same).
-
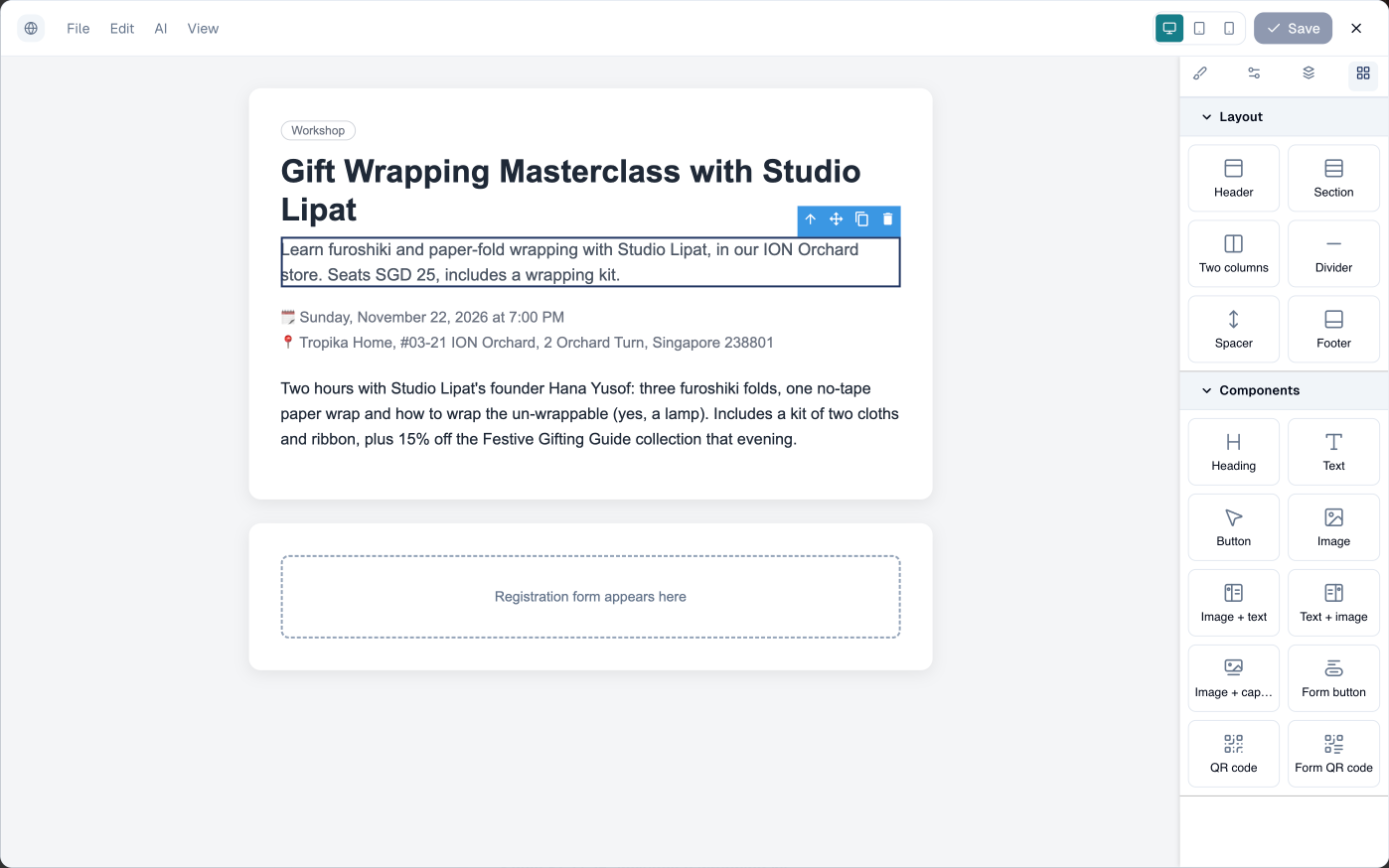
GoodBards creates a page named after your event, selects it for the event, and opens it in the editor.
-
Change the page:
- Edit a text: double-click it and type.
- Add something: drag a block from the right onto the page. Layout blocks (Header, Section, Two columns, Divider, Spacer, Footer) organise the page; Components (Heading, Text, Button, Image, Image + text, Text + image, Image + caption) fill it.
- Move, copy or remove a block: select it, then use the small blue bar that appears above it.
- Check it on a phone: use the three screen icons at the top, next to Save.
-
Choose Save, then close the editor with the cross.
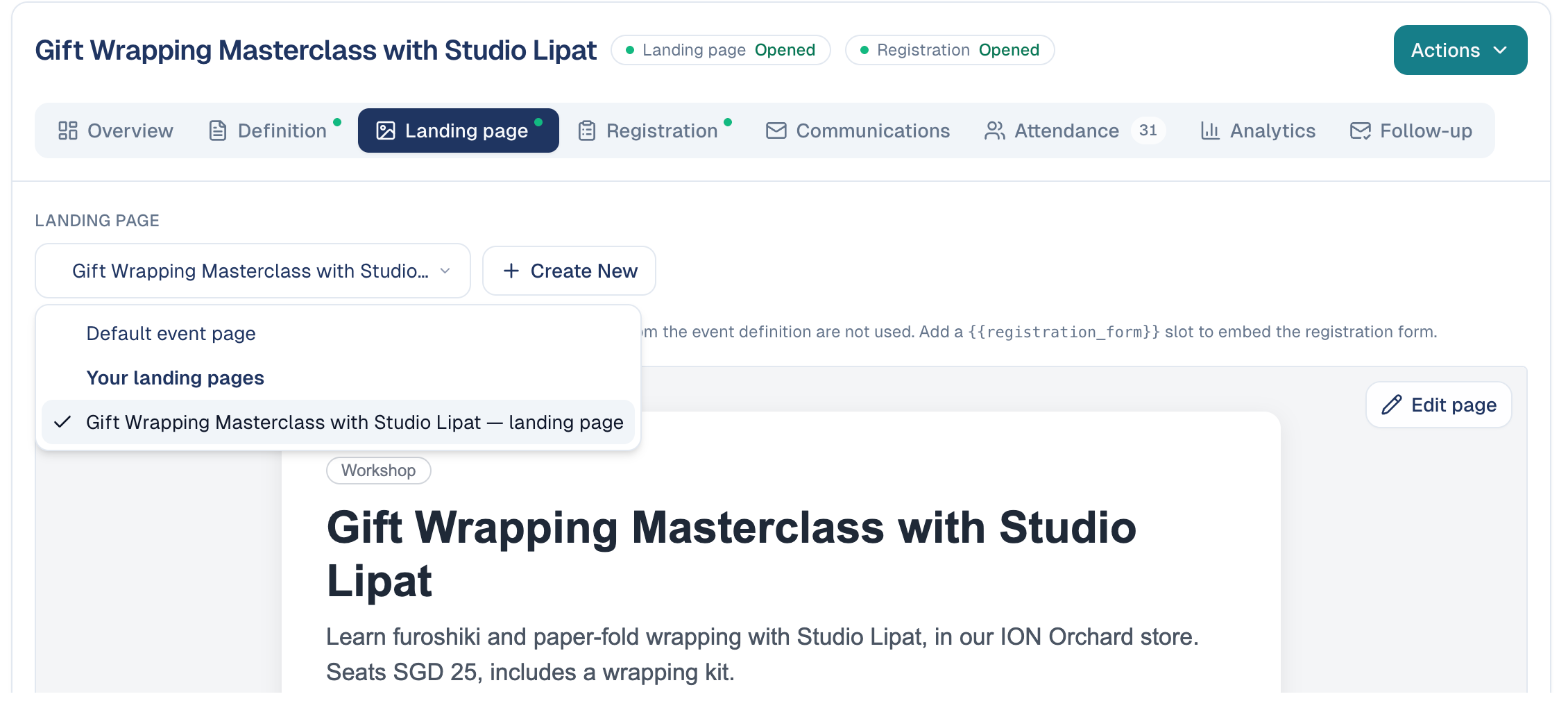
Back on the tab, the list now shows your page under Your landing pages, and the preview has an Edit page button to open the editor again.
Keep the registration form block
The dashed box Registration form appears here is where your form is shown. If you delete it, guests can read the page but cannot register. Move it where you like, but keep it.
A customized page is a copy
Your page starts with the event's details as they were when you copied them. From then on it is yours: a later change on the Definition tab (a new date, a new address) is not copied into it. Update the page yourself, in the editor. Your event emails still follow the Definition tab.
How to switch between pages
The list at the top of the tab decides which page guests see:
- Default event page goes back to the automatic page. Your custom page is not deleted: it stays under Your landing pages.
- Your landing pages lists the pages made for events. Picking one links it to this event at once.
The change is saved as soon as you pick: there is no Save button on the tab.
How to put the page online
The page is online when the event is published. In the Actions menu, top right of the event:
- Publish puts it online; Unpublish takes it down.
- Open public page shows it as a guest sees it.
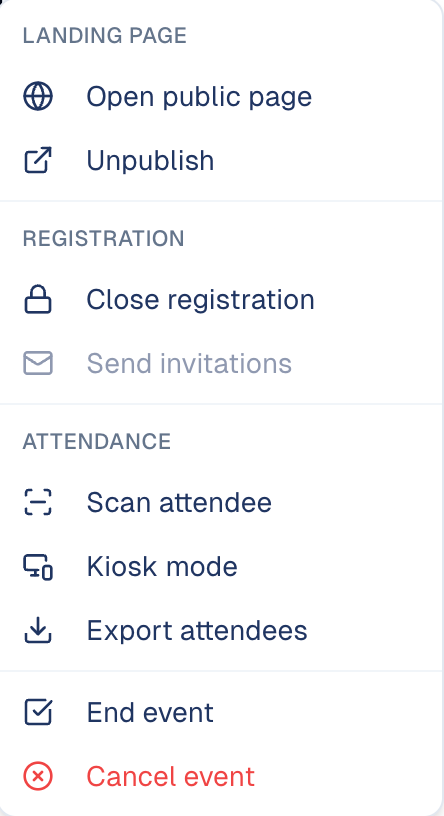
The two chips next to the event's name, Landing page and Registration, tell you at a glance whether the page is online and whether people can still register.
Good to know
Start with the default
It is always correct. Customise only when the event deserves its own look, not for every event.
- Fill in the Definition tab first. The copy takes what is there at that moment; a page copied from an empty definition is an empty page.
- Write the Full Description before copying. It is the body of the page.
- The form is separate. To change the questions, edit the form under Registration › Registration form, not the page. See Forms.
- Your custom pages are kept with your content. You also find them in the Content Repository.
Still stuck? Contact support.